Read Photocell Sensor Value as Lumens Arduino
If you want to build a robot, create a weather station, make a moving Skull, or build prototypes with Arduino, then you lot'll desire to read data from analog sensors.
In this article, we're going to explore how to read analog sensors using Arduino. Then, we're going to have a look at some pop Arduino sensor kits you can buy for your adjacent projection.
Need assist learning to code electronics? Click hither to cheque out our beginner online course.
How to read Analog Sensors using Arduino
The Arduino has congenital-in analog and digital input and output (I/O) pins that you tin interface to a diverseness of sensors and devices.
The difference betwixt analog and digital sensors is that an analog sensor collects readings over a range of values, and a digital sensor only reads a HIGH or LOW signal (a bit of data).
The Arduino has a 10-bit Analog-to-Digital-Converter (ADC), which maps sensor readings between 0 and the operating voltage (5V or 3.3V) into integer values between 0 and 1023.
This is derived using the adding two^ten = 1024, and so the range ends upwards beingness 0-1023. The resolution of an Arduino is about 4.9mV per unit (five/1024 = 0.0049 or 4.9mV). You tin read more about the specifics of the Analog pins on the Arduino in the Arduino Reference guide.
Step 1. Wire Analog Sensors to Arduino
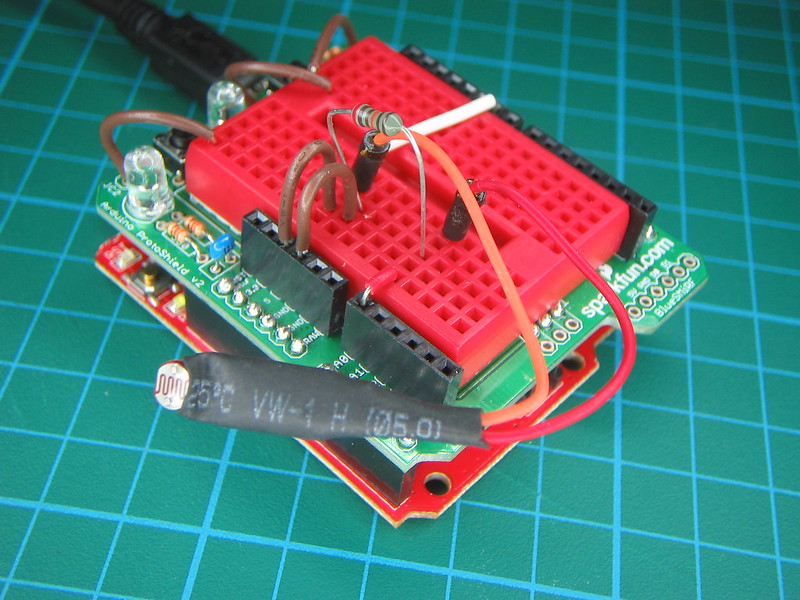
The majority of analog sensors for Arduino are wired and programmed the same. So, once you acquire how to wire and read data from one analog sensor, you'll be able to wire and programme thousands of additional sensors to collect a whole agglomeration of information. For this example, I'll walk you through wiring and programming a light-dependent resistor (LDR) as well known equally a photoresistor.
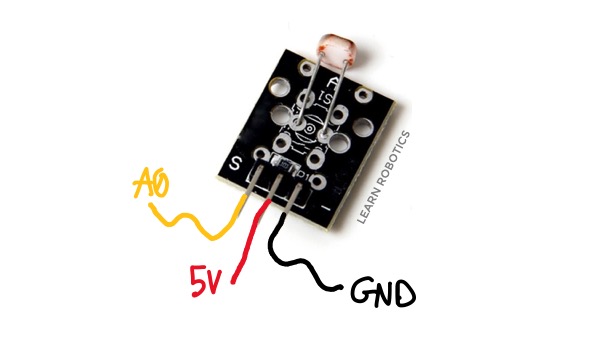
The commencement step is to connect the analog sensor to the Arduino. Analog sensors for Arduino have three wires (Basis, Signal, Ability). Refer to the sensor's datasheet to figure out which wire is which. Then, connect the ground wire to GND on the Arduino. Next, adhere the Signal wire to an analog pin on the Arduino. Lastly, connect the power wire to the 5V on the Arduino.
Step 2. Setup your Arduino Sketch
The next footstep is to gear up the Arduino Sketch. First, configure a global variable for the analog sensor. I'chiliad going to use the name LDR for short.
int ldr = A0;
So, in the setup() method, initialize the sensor every bit an input and offset the Serial monitor.
void setup(){ pinMode(ldr, INPUT); //initialize ldr sensor every bit INPUT Serial.begin(9600); //begin the serial monitor at 9600 baud } The Arduino Uno has a baud rate of 9600. We tin can apply the begin method to start the Serial Monitor. Now, we're set up to write the Arduino code to collect readings from our analog sensor.
Step iii. Write lawmaking to collect readings from Analog Sensors
Side by side, collect a sensor reading using the analogRead(ldr) method, and shop it in an integer variable. I chosen this variable "data."
Nosotros will use a few print statements to testify the readings in the Series Monitor. Serial.print() volition print data horizontally beyond the screen. Serial.println() will print data vertically downwardly the screen. I used both to label the data while making it like shooting fish in a barrel to read.
void loop(){ int data=analogRead(ldr); Serial.print("ldr reading="); Serial.println(information); delay(1000); } Finally, add a filibuster. This prevents the Arduino from taking readings faster than nosotros can see them. Feel free to adjust this delay to whatever interval makes sense for your application. One time you have the test code written, salve the sketch and upload it to the Arduino. Open up the serial monitor and you lot should come across values from 0-1023 depending on how bright or dark the surface area is.
Pace iv. Analyze and Convert Sensor Readings as needed
Some sensors require a unit conversion. For example, information technology's easier to understand what temperature information technology is when the units are in Celcius or Fahrenheit. Furthermore, with our LDR nosotros could convert the unit readings into a brightness percentage. That mode when we analyze the data, we tin check for conditions based on 25% bright, 100% bright, or a unit of measurement that makes more than sense for the application.
Most datasheets specify formulas that you can use to make these conversions. Y'all don't ever take to "make upwardly" a unit for your sensor.
Step five. Apply sensor data to make decisions
Once yous have an understanding of how data is collected from your analog sensor, y'all can use the readings to make decisions.
We'll use conditional statements to cheque to see if a condition is Truthful or FALSE. Then, based on that condition, we'll react appropriately.
Hither'south an case using the LDR. If the condition is Calorie-free, then let'southward write the word "daylight" to the Serial Monitor. Otherwise, write the word "nighttime" to the Series Monitor.
Outset, add a method chosen lightCheck() to the previous Arduino sketch.
//globals to store information int reading; int threshold = 900; //range of 0-1023 / college value = brighter void lightCheck(){ reading = analogRead(ldr); if(reading >= threshold){ //this condition means the readings are light Serial.println("daylight"); } else{ Serial.println("dark"); } delay(1000); } Then, nosotros'll call lightCheck() in our loop() method. Here'southward how it should work.
Enter your electronic mail to download the Sample Arduino Code used in this simulation.
Success! Here'southward your free download!
Resources to Larn Arduino
At present that you have an understanding of how to use analog sensors with Arduino, you can brush up on your Arduino skills with these popular resource.
Level 1: Coding & Circuits
Coding & Circuits is the but Arduino course you'll need. I created this online grade to guide yous through building, wiring, and coding your ain Arduino image. We utilize a diversity of sensors in this course and walk through both the technical terminology and the practical applications.
By the end of this course, you'll have a firm grasp on how to wire sensors to Arduino, read data, brand decisions, and create custom prototypes using Arduino.
You don't demand engineering or technical feel to get started with this course. Larn more virtually Coding & Circuits here.
Related Arduino Articles
If y'all're interested in learning how to code Arduino sensors, then you'll want to bank check out these related manufactures.
- 4 Steps to Write Any Arduino Plan
- Simple Guide to Arduino
- How to Employ a Breadboard
Arduino Projects using Sensors
Looking for Arduino projects to piece of work on? Hither are some tutorials to get you started!
- BME280 Temperature, Humidity and Force per unit area Sensor with Arduino Tutorial
- OLED Brandish with Arduino Tutorial
- Brand an Autonomous Robot Tank with HC-SR04 Sensor
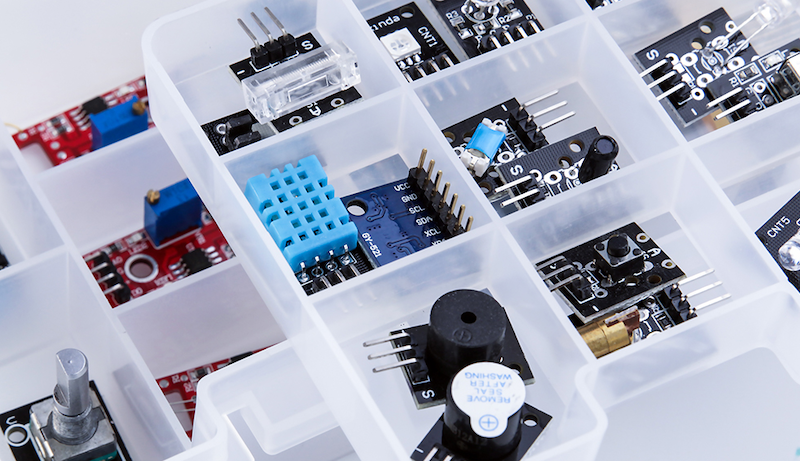
Best Sensor Kits for Arduino
Ready to make your prototype using Arduino and some analog sensors? Then you'll desire to bank check out these sensor kits. The majority of Arduino sensors are less than $2 each; however, when you purchase a kit, you tin often get sensors for less than $1 each.
TL;DR: It'south much more toll-constructive to purchase sensor modules in a kit than information technology is to purchase them separately. If yous plan on creating projects that require a diversity of sensors, then purchasing a kit is your best bet. Here are some kits that I recommend checking out.
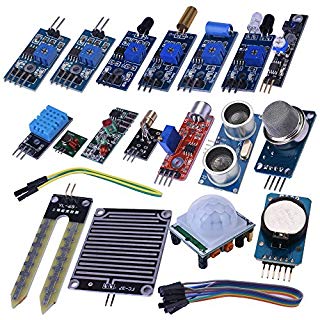
1. ELEGOO 37-in-1 Sensor Module Kit
The ELEGOO 37-in-1 Sensor Module kit is compatible with both Arduino and Raspberry Pi. It includes advanced modules such as the GY-521 accelerometer module and LCD1602 screen equally well equally classic sensors such every bit the HC-SR04 ultrasonic sensor and IR sensor. At that place'southward also fifty-fifty a water level sensor. Create a ton of dissimilar projects using the ELEGOO 37-in-i Sensor Module Kit.
Buy on Amazon
2. Kuman 37-in-i Sensor Kit
Some other 37-in-one Sensor kit is by Kuman. This kit is similar to the ELEGOO kit but is a little lower in price. It doesn't include the same modules, merely there are a lot of similarities. The key to picking out an Arduino sensor kit is to determine what sensors y'all need for your project and then find a kit that has the majority, if non all, of the sensors, included.
Buy on Amazon
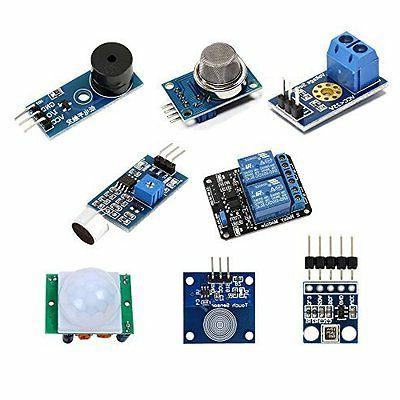
3. KOOKYE 16-in-ane Smart Home Sensor Modules
Lastly, if you're looking for sensors that are all-time suited for dwelling automation, and then you lot'll want to check out the KOOKYE sixteen-in-1 Smart Home kit. This kit combines the most common electronic components of smart home projects into a unmarried kit. You can detect temperature, humidity, sound, light, infrared, flames, vibration, air press, and more than! If you're building a smart habitation system using Arduino or Raspberry Pi, I highly recommend checking this kit out.
Buy on Amazon
What Arduino sensor are you going to utilise adjacent? Go out a annotate below.
Be sure to share this postal service with a friend who enjoys electronics and coding.
You May Also Similar
Source: https://www.learnrobotics.org/blog/read-analog-sensors-arduino/
0 Response to "Read Photocell Sensor Value as Lumens Arduino"
Post a Comment